A glossy surface can be difficult to inspect, but it’s definitely doable. The same goes for a curved surface. But combine the two, and you have a real challenge.
Glossy, curved surfaces on ceramic plates and bowls, for example, are notoriously difficult to inspect because certain defects only become visible in direct reflection. In this article, we’ll go through how we are solving this in a current project for one of our customers.
Imagine holding a bowl in your hand. To see the surface clearly, you will automatically start tilting the bowl or your head slightly to avoid glare and find the exact angle that gives direct reflections, revealing small defects like pinholes or orange peel.
How to get light from all angles
Applying this to an automated inspection system is much more difficult, as we will need light and images from many different angles to cover the entire surface.
However, there are methods to overcome this challenge, and for our solution, we have drawn inspiration from complex inspection systems in the automotive industry.
The first step is to efficiently get light from every single angle. This can be done by using a large screen as a light source; we can switch individual sections of the screen on and off to illuminate the object from multiple angles. If multiple normal light sources were used instead, there would be many gaps between them where no light would be emitted. This is avoided with a large screen.
However, it could require much more than 30 different sections to be turned on and off, which would take too long for high-speed production lines. A better approach is to use fringe patterns

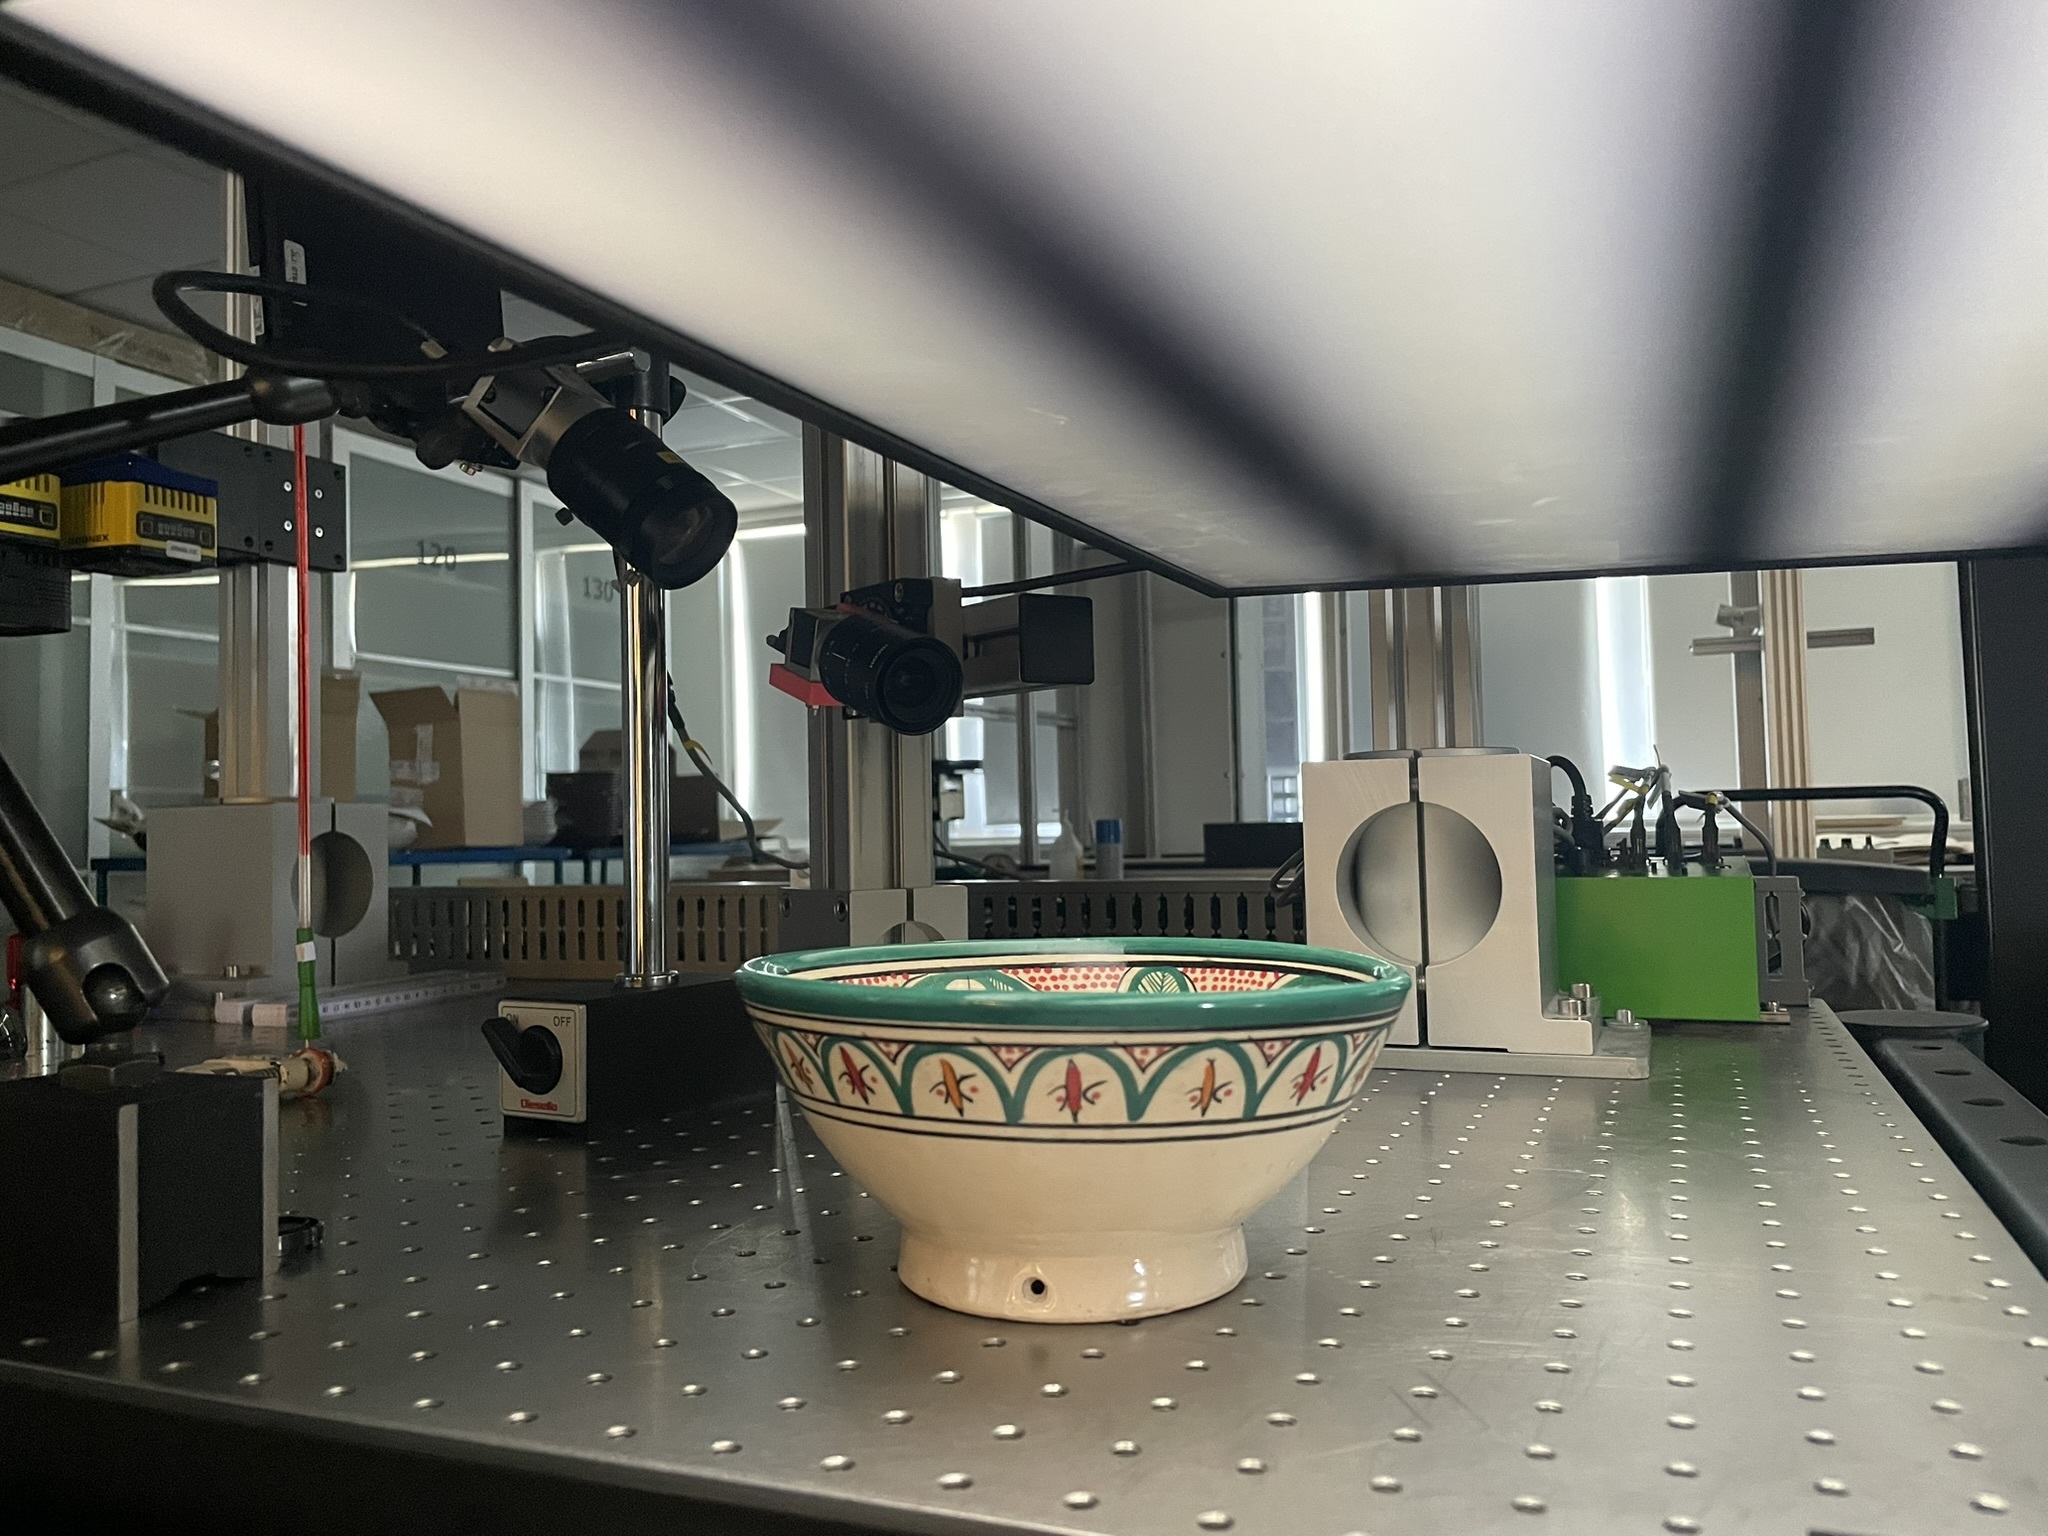
Test setup showing screen with fringe pattern and multiple cameras.
 The pinhole defects are now visible.
Avoiding switching +30 sections on and off
What we do is to project a sinusoidal fringe pattern onto the item, with the intensity of the light stripes varying smoothly as a sine wave.
Now, if there is an irregularity in the surface, such as a pinhole, this defect will have a different angle to the light source and will thus show a slightly lighter or darker reflection than the surrounding surface. In the captured image, this distortion reveals the defect.
By using a fringe pattern, we can reduce the number of images we need from more than 30 to 6, which, of course, has a significant impact on the subsequent analysis of the images.
Multiple cameras and screens
However, to inspect the entire surface of a bowl or plate, we still need multiple images from different angles, which requires the item to remain still for a period of time.
One way to solve this is to place the light source on a robotic arm and have it cover all the needed angles by moving it around.
While this will technically work, it is rarely a viable option in a high-volume production environment, as the full inspection cycle would take too long. It would disrupt the production too much.
Instead, we are working on a solution that fits within the existing production flow by installing multiple cameras and screens at 3-4 separate inspection stations on the production line, at points where the item already comes to a standstill. Together, these systems will then cover the full surface.

.jpeg)