Vision systems rely on a clear and unobstructed image. But sometimes the conditions on the production line are far from ideal, and this calls for innovative solutions.
In this blog post, we will go through some real-life examples of how we have solved the complex challenge of developing machine vision systems for low visibility conditions where a process needs to be monitored or a dimensional measurement needs to be made.
Furnace Monitoring
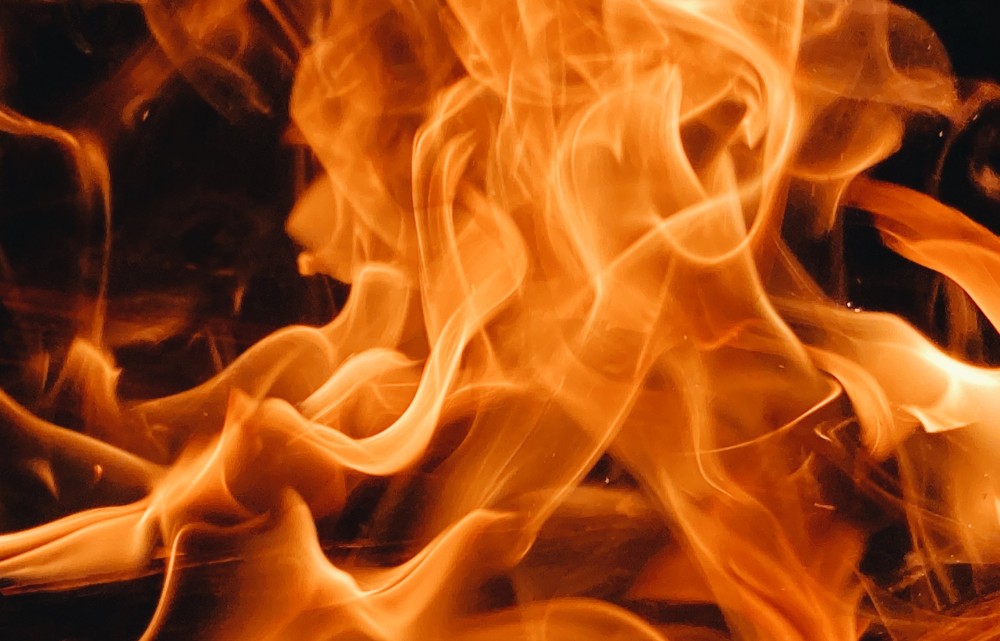
The first system of this kind was developed 30 years ago, where we installed a camera in the furnace of a straw-burning power plant.
The camera was mounted in a water-cooled housing, and a pinhole lens was installed to look into the furnace. The lens was placed in a tube with the open end facing the burning straw bale. An airflow was constantly passing through the tube and this kept the lens clear of the smoke and ash.
The camera used an infrared (IR) pass filter to take out all visible light.
The flames in the furnace were hot but had little mass. The bales of burning straw that were pushed into the furnace, were heavy and therefore radiated much more IR light than the flames. Thereby we could look through the flames, ash, and unburned straw flying around under the combustion.
The purpose of the system was to measure the position of the flame in front of the bales. To optimize the combustion, the front of the bale had to be placed within half a meter of the air nozzles that pointed towards the bale.
The bales were moved forward slowly, and a measurement every half minute was sufficient to regulate and optimize the process.
The vision system software analyzed the images and integrated picture frames over time. The images from the camera were mostly just flames and straw flying around, but now and then there was a partly clear view of the burning bale.
The image processing program only registered the brightest pixels. By integrating these we built an image that showed the bales clearly. In this image, the vision system was able to make pretty accurate measurements of the flame front. These measurements could then be used to regulate the forward motion of the bales.
Vision Systems for Steelworks
A rough production environment like a steelworks is often a challenging setting for a machine vision system, but we have developed a solution for this as well.
The task at hand was measuring the precise dimensions of slabs as they are being rolled. The rolling process generates a lot of steam which disturbs the image of the slab. The trick here was to analyze the image 50 times a second, and wait until you get four measurements that are exactly the same. This is then used to create valid measurements.
.jpg?width=1000&height=534&name=Slab%20Gauge%20Inspection1000%20(1).jpg)
Stainless steel tank monitoring
Recently we have investigated an application where it is difficult to get an undisturbed image.
In this case, we look down into a tank where powder is being dissolved under slow stirring. The purpose is to detect when the liquid is clear with no undissolved lumps. Foam can form on the surface, but these patches will float around and there will also be the occasional clear view. Again, the process is slow and the vision software just has to wait and only analyze the images where the view to the bottom of the stainless tank is clear.
Making image analysis in a stainless steel tank in water is a pretty rare challenge. But based on our previous experiences and a lot of research it seems possible to create a working system.
So with a creative approach and a lot of craftsmanship, it is possible to use a vision system to monitor a process, even in poor visibility, and with image interference.


